How to install and setup Google Tag Manager (GTM) in Webflow
Want to take advantage of Google Tag Manager to easily add analytics and tracking codes? Learn how to install and setup Google Tag Manager in Webflow.
No matter what type of site you have, whether it is a corporate, an e-commerce site, an informative blog or a small business, it is essential to understand how people visit your website, how long they stay and what pages they visit. You probably use Google Analytics to provide you with meaningful insights or Google Website Optimiser to optimise your site to increase visitors or sales. You probably end up eventually adding multiple code snippets to track your conversions, traffic and other analytical data.
With Google Tag Manager, you can easily add and manage all of these scripts from a single dashboard. It has built-in tag templates for Google Analytics, Adwords, Crazy Egg, Hotjar, LinkedIn Insight, etc. Tag Manager also works with several third-party analytics and tracking platforms.
In this article, I will show you how to add Google Analytics to your site using Google Tag Manager in Webflow.
Create or sign in to your Analytics account:
Step 1: Go to google.com/analytics
Step 2: Do one of the following:
- To create an account, click Start for free.
- To sign in to your account, Click Sign in to Analytics.
For more details, please see Google Support.
Setting Up Google Tag Manager
Step 1: Go to tagmanager.google.com and sign up using the same Google account you used with Google Analytics.
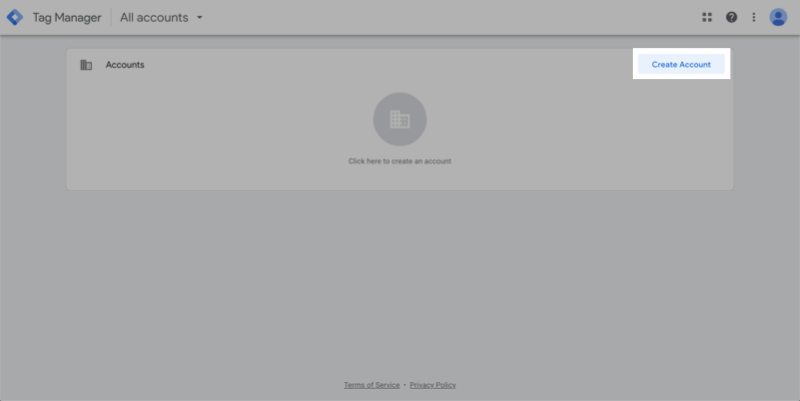
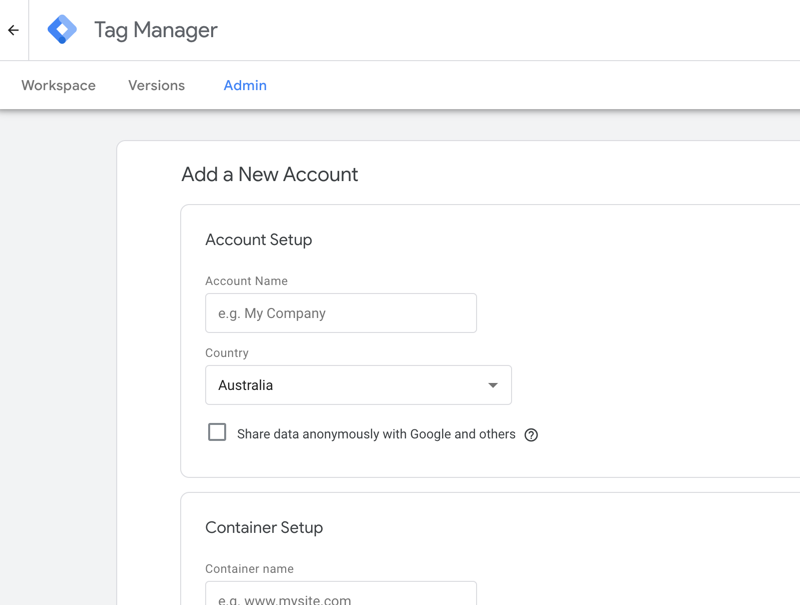
Step 2: After logging in, click on the Create Account link to provide your account name and container info, and click on the Create button.
Step 3: Once your new account is created, you will see your tracking code similar to that below.
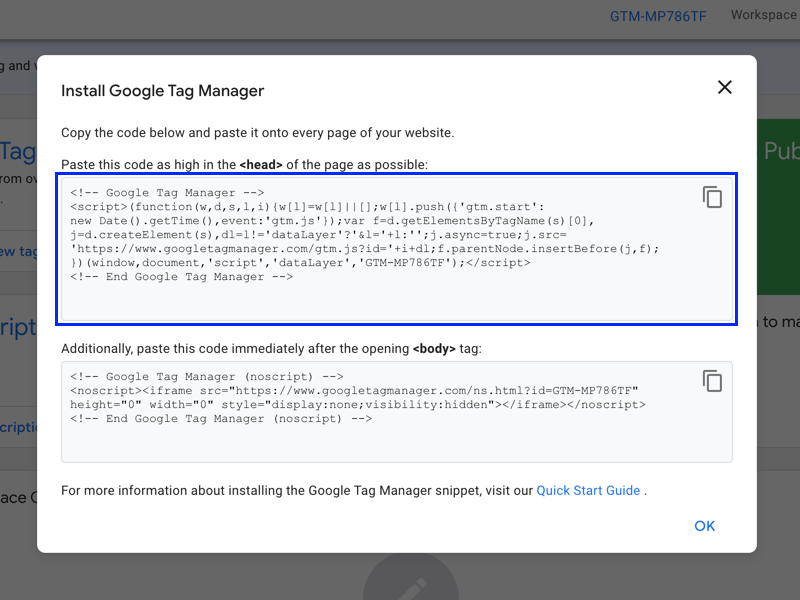
Step 4: Copy the first tracking code.
Adding Tag Manager Code in Webflow
Step 1: Once logged into your Webflow account, navigate to your site’s Project Settings page, and click on the Custom Code tab.
Step 2: Paste the tracking code into the Head Code area and click on the Save Changes button.
Step 3: Navigate to the Designer editor and insert an HTML Embed element right after the Body tag.
Step 4: Go back to tagmanager.google.com and copy the second part of the tracking code.
Step 5: Paste the code into the HTML Embed element you just created in Webflow, and click on the Save and Close button.
Step 6: Since, in most cases, you will want to track your visitors on all of your pages, it is good practice to save this HTML Embed element as a symbol so that any changes made to the tracking code in the future will update all instances of the symbol across your project.
Step 7: Click on Create New Symbol and name the symbol.
Step 8: Once it is saved, you can now quickly insert the symbol by using Command + E (Mac) or Control + E (Windows) and type "Google" to find the tracking code symbol.
That’s all, you have successfully installed and setup Google Tag Manager for your Webflow site.